Description
This article will guide you through changing the color that’s displayed for each appointment type on the scheduler.
Step-by-Step
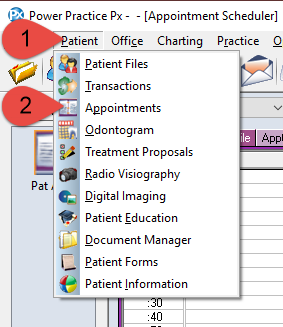
- Select Patient from the top menu bar.
- Select Appointment from the sub menu.
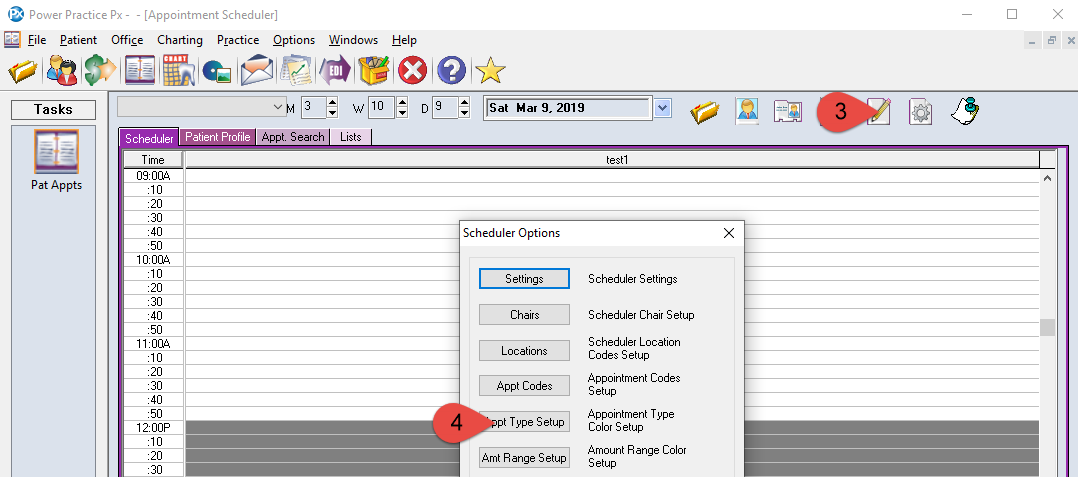
- Select the Scheduler Options icon.
- Select the Appt. Type Setup button in the Scheduler Options window.

- Select the appointment type you want to change the color of.
- Select the Color button.
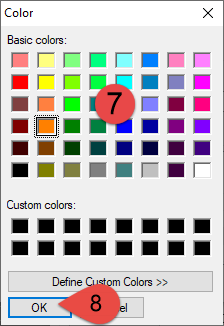
- Choose a color from the default displayed or select the Define Custom Color button for more choices.
- Select the OK button along the bottom to save the changes.
Additional Resources