Description
This article will guide you through creating a user permission group that you can assign individual users to.
Step-by-Step
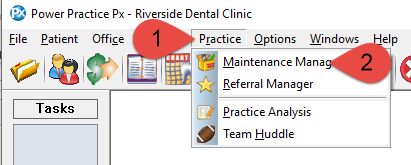
- Select Practice from the top menu bar.
- Select Maintenance Manager from the sub menu.
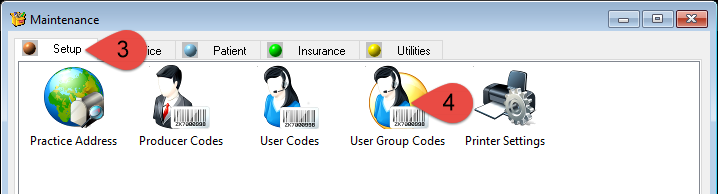
- Select the Setup tab.
- Then select the User Group Codes icon.

- Select the Plus Folder icon to start a new user group.
- Fill in the Group Code and Description fields to give the group a way to be identified and assigned.
- Select the Security button.

- Select Yes to the user group information message.
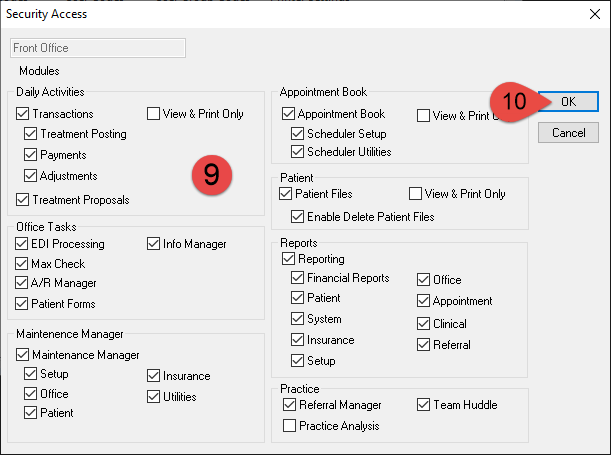
- In the Security Access window that pops up, select all the task in each module you want users of this group to access. You can also set a few areas as read only so the users can have access but can’t add or change anything.
- Select the OK button to save the settings.
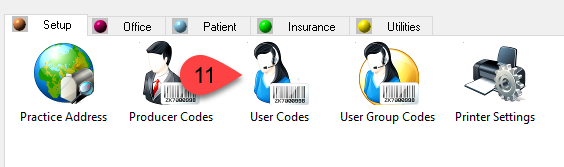
To add a user to a group:
- Double click on User Codes
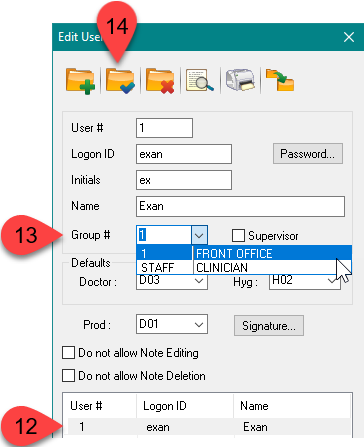
- Select the user name at the bottom
- Choose the Group for the user
- Click the Save icon
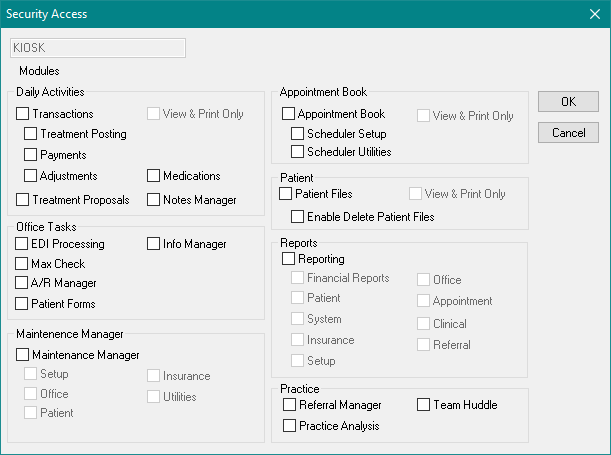
For the Check In Kiosk user:
You can create a user group specifically for the Check In Kiosk user login which will have no access to any data within Power Practice.
Simply create a group code with no access rights as displayed on the image to the left and apply it to the kiosk user as indicated in the steps 11 to 14.
Additional Resources